
And now on to my CRATE SEAT TUTORIAL!! I know you were all waiting anxiously, riiiight? ;)
Here's the finished product!!

You will need these items:

- Crates (I found these at Walmart for $3!!)
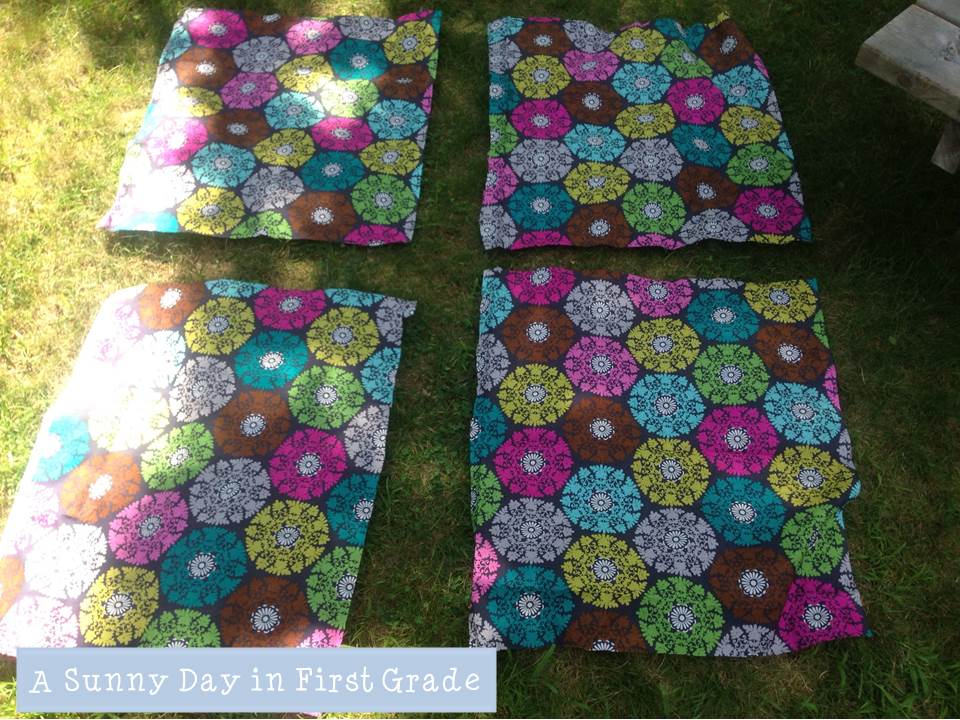
- Fabric (Mine is from Hobby Lobby - 2 yards for 4 crates)
- Particle board (It was cheaper and thicker than plywood)
- Foam
- Staple Gun
- Scissors
- 1 super awesome boyfriend/husband if you can't use a saw on your own :)

1. First cut the boards to the right size to fit inside the top of the crate. My boyfriend did this part for me! For some reason, he doesn't trust me with a saw. Don't ask me why! I tried to take a picture, but he said no. Soooo just cut the wood carefully (or have someone do it for you!)
2. Then I lined up the wood pieces on the foam and traced the edges so I knew where to cut.

3. My foam was so thick, I had to cut it in half! It wasn't pretty when it was all cut, but it worked out fine when I put the cut side down on the wood.

4. Put the foam on top of the board. Then place the fabric over both to determine what size you need to cut. Make sure you leave enough fabric so it goes over the edges and you have enough to staple! I left about two inches of extra to staple.
Make sure the piece you cut fits with enough to staple and then cut out enough to cover each of your crates!
5. Wrap the fabric over the foam and board and staple away! I pulled the fabric pretty tight so the cushion doesn't wiggle around. I stapled the longer straight edges first. Then I carefully folded up the ends (kind of like a present!).
Here are pictures!

You can see the fabric lined up straight with the edge.

{I took a video of folding the edges but it's not uploading! If the pictures aren't making sense, I can email it to you! }
It should look like this when you are finished!

Even the bottom looks nice and clean and pretty!

Do this for each of your crates. {You can see I used lots and lots of staples!} Then turn them over and place in the crate!
TA DA!!! You have seat crates!!!


Snickers approved!!! :)

.JPG)

They turned out great!! I NEED to make these!
ReplyDeleteKimberly Ann
Live, Laugh, I love Kindergarten
These are so cute!!! I love them and now want to make some!
ReplyDeleteSara
First Grade Funtastic
These are awesome. I want some. I *might* make some soon. Thanks for the tutorial!
ReplyDeleteWallis
First Grade Wolves
They turned out awesome! Love your choice of fabric. I made mine last summer and my kiddos loved using them during center time. Your kitty cat is cute too!
ReplyDeleteLindsay
For the Love of First Grade
Love yours! I made some a couple of years ago and they are wonderful for storage too!
ReplyDeleteimgoingfirst@gmail.com
SO cute! I love them. I only have 6 days before school but I AM going to make them. I will share pics.
ReplyDelete